Preparing Properties for Exceptional Photo Shoots (5 simple steps)
Visually appealing listings can be the game-changer that sets you apart. A well-executed real estate photo shoot is essential for creating that coveted first impression. In this guide, we'll outline five crucial steps for real estate agents to ensure their properties shine in every frame.
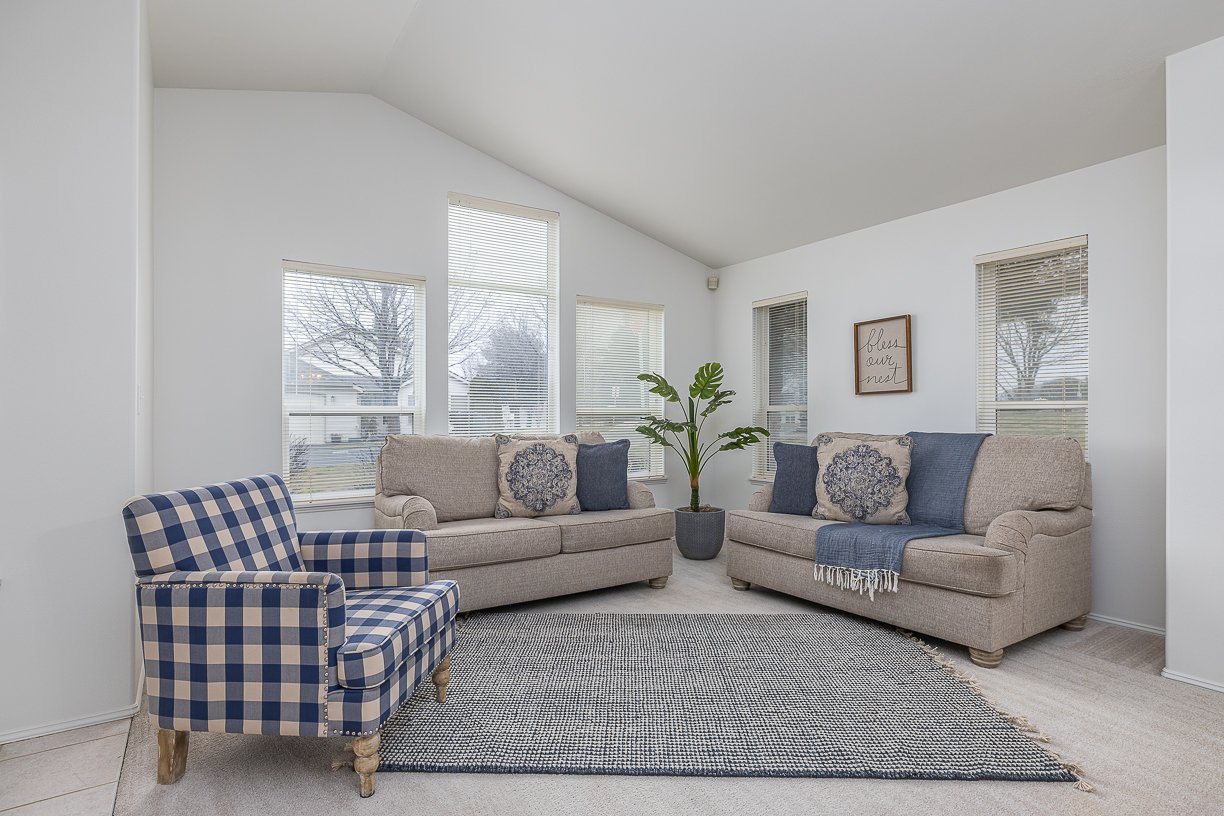
Step 1: Deep Cleaning and Decluttering
A clean and clutter-free environment not only enhances the visual appeal but also allows potential buyers to envision their future home. Here's how to tackle this step effectively:

Cleaning allows potential buyers to envision their future home
Example: Collaborate with Professional Cleaners
Connect with reputable cleaning services like EcoMaids to ensure a deep and thorough cleaning of the property. From windows to carpets, a spotless interior lays the foundation for stunning photographs.
Step 2: Professional Staging Consultation
Effective staging is an art that can transform a space and highlight its best features. Provide staging consultations to your clients, and consider partnering with staging experts for a professional touch.
Example: Partner with Staging Professionals
Work with renowned staging companies like Staged by Design to offer personalized consultations. They can guide homeowners on furniture arrangement, decor choices, and other staging techniques that enhance the property's overall appeal.
Step 3: Lighting Enhancement
Proper lighting can make or break a real estate photo. Ensure the property is well-lit to showcase its beauty. Here's how to illuminate your success:

Lighting can add new dimensions to an older home
Example: Upgrade Lighting Fixtures
Suggest upgrading outdated lighting fixtures to modern, energy-efficient options. Companies like Ferguson can provide stylish and functional lighting solutions that enhance the visual appeal of each room.
Step 4: Timing is Everything
Natural light plays a crucial role in photography. Plan the photo shoot during optimal lighting conditions to capture the property in its best light.
Example: Schedule to Enhance the Best Features of the Home
Coordinate with your photographer, like Quinlan Images, to schedule shoots during the "Optimal Time”. The optimal time is different for every home. Every home has rooms that showcase the home better than others. Schedule you photo shoot when the best rooms of the home are receiving the best quality light of the day.

Collaboration and communication are key to a successful real estate photo shoot
Step 5: Collaborate and Communicate
Effective collaboration and communication are key to a successful real estate photo shoot. Ensure everyone involved is on the same page.
Example: Start a Group Email
Start a group email early in the process to streamline coordination between homeowners, photographers, and any other serivce. This way everyone will be on the same page and ensure that the home will be listed on the target date. Clear communication ensures a smooth process and a successful outcome.
Conclusion: Elevate Your Listings with Picture-Perfect Preparations
By following these five steps, real estate agents can master the art of preparing properties for real estate photo shoots. Remember, a visually stunning online presence can significantly impact your reputation, the property's marketability, attracting potential buyers and driving successful sales.